

By African Memorable Safaris, Mombasa-based safari specialists. Updated October 2026.
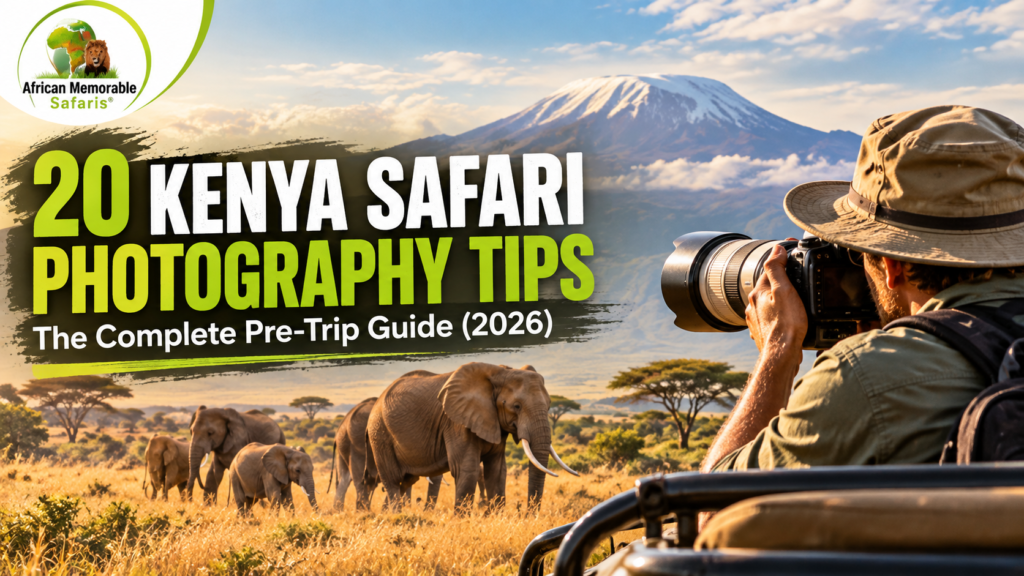
A Kenya safari offers some of the best wildlife photography in Africa: river crossings in the Masai Mara, elephants beneath Mount Kilimanjaro at Amboseli, and the red-dusted herds of Tsavo. The best photos come from preparation, not luck. These 20 tips cover what to buy, practise and plan before you arrive. For trip planning, see our Kenya safari planning guide and best time to visit.
Part 1: Gear
Tip 1: Choose a camera built for action
Pick a mirrorless or DSLR body with fast autofocus and a burst rate of at least 5 to 8 frames per second. Animal-eye autofocus on newer bodies is a real advantage with moving subjects.
Tip 2: Prioritise reach when choosing a lens
Reach matters more than anything else on safari.
| Budget | Lens | Best for |
| Entry | 70-300mm | Casual shooting in good light |
| Mid-range | 100-400mm | The most flexible all-rounder |
| Serious | 150-600mm or 200-600mm | Birds, distant predators, river crossings |
| Wide | 24-70mm or 16-35mm | Landscapes, animals in habitat, camp scenes |
Tip 3: Carry two bodies if you can
Changing lenses in a dusty vehicle risks dust on your sensor, and you miss action while swapping. Put a long lens on one body and a shorter lens on the other.
Tip 4: Rent before you buy
Renting a long lens for your trip is usually far cheaper than buying one. Rent early so you can test it at home.
Tip 5: Practise at home first
Spend a week photographing moving subjects such as birds, dogs and traffic. Learn to change shutter speed, aperture and ISO without looking, to use continuous autofocus, and to hold a long lens steady.
Part 2: Settings and setup
Tip 6: Start with these camera settings
There is no single correct setting, but these starting points work in most conditions. Always check your results.
| Situation | Mode | Shutter speed | Aperture | ISO |
| Resting or slow animals | Aperture priority | 1/500s+ | f/5.6-f/8 | Auto |
| Walking animals | Shutter priority | 1/1000s | Widest to f/8 | Auto |
| Running animals, predators | Shutter priority | 1/1600-1/2500s | Widest | Auto |
| Birds in flight | Shutter priority | 1/2000s+ | Widest | Auto |
| Dawn and dusk | Aperture priority | As slow as is safe | Widest | Auto, with a max limit |
| Landscapes | Aperture priority | Any | f/8-f/11 | Low |
A common rule is shutter speed of at least 1/focal length, so aim for 1/800s or faster with a 400mm lens, and faster still for movement.
Tip 7: Set up autofocus and burst mode
Use continuous autofocus and burst mode for anything that moves. Shoot RAW if you plan to edit. Use exposure compensation for dark animals against bright skies. Check your focus and dials after every drive, because a bumped dial can ruin a whole morning.
Tip 8: Bring steady support
Tripods are awkward in a safari vehicle. A beanbag is the best option for most travellers. Bring it empty to save luggage weight and fill it with rice or beans after you arrive. A clamp mount works if you want to pan with moving animals.
Tip 9: Protect your gear from dust and weather
Kenya’s dry-season roads are dusty, especially in Tsavo and Amboseli. Pack pillowcases or cloth covers, a blower, lens cloths and zip bags with silica gel. The dry seasons are generally January to February and June to October, with rains around March to May and November, so add a rain cover if you travel then.
Tip 10: Bring enough memory cards and back up nightly
You will shoot more than you expect. Bring several large, fast cards so you never change one mid-sighting, and back up every night to a laptop or external drive.
Tip 11: Plan power and luggage
Kenya uses Type G (UK-style) sockets at 240V, so bring an adaptor and a multi-charger. Ask your operator about charging in the vehicle and at your lodge. If your trip includes a small-aircraft flight, soft bags with strict weight limits (often around 15kg) usually apply, so check with your operator and carry camera gear in your hand luggage.
Part 3: Light and locations
Tip 12: Shoot in the best light
Golden light passes quickly near the equator, so be ready. Early game drives give the best light and animal activity. Overcast days act like a huge softbox and give even light. Midday sun is harsh, but waterholes and shade can still work.
Tip 13: Masai Mara tips
- Best for: the Great Migration, big cats, river crossings
- Typical timing: herds usually arrive from around July and stay through October, though it varies each year
- For river crossings, choose your position early, use burst mode and be patient, since crossings can take hours or not happen at all.
- Read more: The Great Wildebeest Migration and Masai Mara safari packages
Tip 14: Amboseli tips
- Best for: elephants with Mount Kilimanjaro behind them
- The mountain is often clearest in the early morning and late afternoon and is frequently hidden by cloud during the day.
- Use a wide lens for the scene and a long lens for compression.
Tip 15: Tsavo East tips
- Best for: the famous “red elephants”, coloured by the park’s red soil
- Keep your shutter speed up for dust-bathing action and protect your gear from fine red dust.
- Read more: Tsavo East from Diani
Tip 16: Don’t overlook Samburu, Laikipia, Lake Nakuru and the coast
- Samburu and Laikipia: Grevy’s zebra, reticulated giraffe, Beisa oryx, Somali ostrich and gerenuk, species that are harder to see in the south
- Lake Nakuru: flamingos and birdlife, though flamingo numbers vary with water levels
- Coast and Diani: beach, culture and marine scenes. See our Diani Beach safari guide.
Part 4: Composition and technique
Tip 17: Focus on the eyes and check your frame
A sharp eye makes the whole image feel alive. Check the edges of the frame before shooting, so you don’t cut off feet, ears or treetops, and watch the background for distractions.
Tip 18: Capture behaviour, landscapes and small subjects
Close-ups are tempting, but wide shots that put the animal in its landscape often tell a better story. Interaction, hunting, grooming and mothers with young usually make the strongest images. Don’t ignore birds, dung beetles and lizards. Kenya has a huge variety of birdlife.
Part 5: Working with people and wildlife
Tip 19: Work with your driver-guide
Your guide is your biggest photographic asset.
- Tell them before the trip what you want: portraits, behaviour, birds or landscapes.
- Ask them to position the vehicle with the light behind you and a clear view.
- Ask for the engine to be turned off at sightings to reduce vibration.
- Stay longer at good sightings, because the best photos often come after the first ten minutes.
- Agree on early starts for the best light.
Tip 20: Respect wildlife, people and park rules
- Never harass, call out to, or approach animals to get a better shot, and never interfere with a hunt or a nest.
- Stay in the vehicle unless your guide says it is safe, and follow park rules on off-road driving and distances.
- Ask permission before photographing local people, including Maasai and Swahili communities, and respect a refusal.
- Drones are heavily restricted in Kenya. Check current rules and permits before packing one, as they may be prohibited in parks.
- No photograph is worth risking your safety.
Bonus tips
Smartphone photographers: Clean the lens often, use the telephoto lens instead of digital zoom, consider a clip-on telephoto lens, and use video for river crossings and behaviour.
Insure your gear: Read our travel insurance guide.
Put the camera down sometimes: The sounds, smells and quiet moments of the bush are part of the trip too.
Kenya safari photography checklist
- Camera body (plus a second or backup if possible)
- Telephoto lens (300mm+, bought or rented) and a wide-angle lens
- Beanbag cover (filled in Kenya)
- 2+ large memory cards and a spare
- Spare batteries, charger and a Type G adaptor
- Blower, cloths, dust covers and zip bags
- Laptop or external drive for backups
- Binoculars
- Insurance for your gear
- Practised at home
Frequently asked questions
What lens do I need for a Kenya safari? A 300mm or longer lens is ideal. A 100-400mm zoom is the most popular all-rounder, and a 150-600mm helps with birds and distant animals.
What is the best time for safari photography in Kenya? Early morning and late afternoon give the best light. For the migration, July to October is typical in the Masai Mara.
Do I need a tripod? Usually not in a safari vehicle. A beanbag is better.
Can I use my phone? Yes, especially in good light and with the telephoto lens.
Can I fly a drone? Drones are heavily restricted in Kenya. Check current rules before travelling.
Which park is best for photography? It depends on what you want. The Masai Mara is best for the migration and big cats, Amboseli for elephants and Kilimanjaro, and Tsavo East for red elephants.
Ready to photograph Kenya? Contact African Memorable Safaris to plan a safari built around your photography.